If you want to clean up your squat technique, get more out of your training efforts or just feel and move less like the tin man and more like a human being…chances are, you need to prioritise your hip mobility. When joints work nice, everything becomes easier….so let’s get them working better with the best hip mobility exercise: the 90/90 stretch.
The 90/90 Hip Stretch – Pimped up and More Effective
You may know the 90/90 hip stretch. What I love about it is how it targets the deepest layers of tissue associated with the joint, such as the joint capsule.
(For the fitness nerds, the joint capsule acts like a ligament to provide stability and support. It also houses synovial fluid. This protects the synovial membrane and keeps the joint lubricated and healthy).
The capsule is very susceptible to fibrotic changes. Adhesions (a sticking together of connective tissue to itself or adjacent tissues) can develop and this can have a profound effect on the hip’s movement capabilities. You can devote X amount of hours to improving your mobility but if you have a restricted capsule, your efforts will be futile.
This is why it’s such an important area to address.
While the 90/90 hip stretch is all well and good, we are going to add isometric (muscles work without changing length) training to boost the results.
Here’s why:
- Following an isometric contraction, you can achieve a deeper stretch because it overrides the stretch reflex. That’s a pesky ‘safety’ mechanism that won’t allow you to lengthen a muscle if it doesn’t deem it as safe. #overprotective.
- Isometric training at the outer limits of your range of motion builds strength in those ranges. Strength + Stretching is infinitely more effective than just stretching alone.
This mobility exercise comes from a course I attended earlier this year called ‘Functional Range Conditioning’.
You probably haven’t heard of it, but it’s a game changer. Elite athletes and top coaches use this with clients worldwide and get great results. Even the yogis speak very highly about how it’s significantly improving their practice. Personally, i have found this to be the only system that has resulted in lasting change and my mobility is consistently improving.
Check the link for more info: https://www.functionalanatomyseminars.com/
Getting into the 90/90 Position
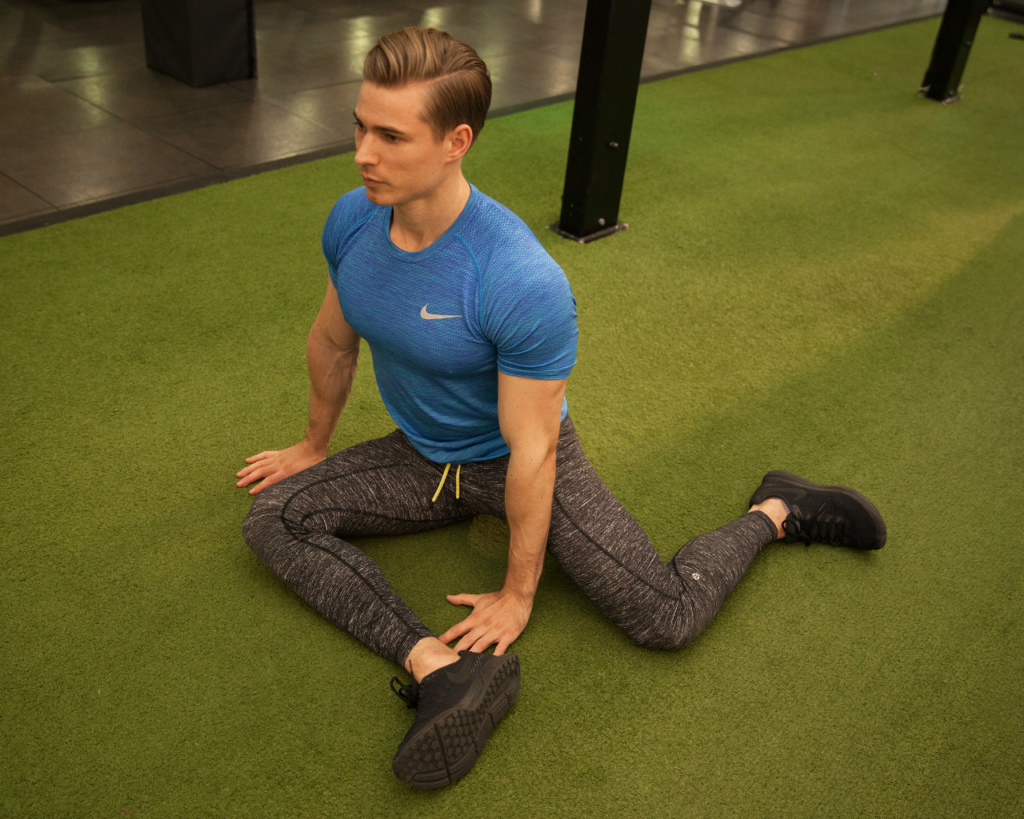
- Facing forward, line up your front leg with a 90 degree angle at the knee.
- Your shoulders should be square to your shin.
- The back leg should extend out to your side, again with a 90 degree angle at the knee.
Part 1: Front Leg Focus
Step 1: Passive Stretch
- Sit up tall.
- Imagine hovering your belly button over the front leg. You can also think about tilting your tailbone up.
- Try to hover your shoulders as far forward as possible…forward not down!
- Once you’ve found that deep stretch on the underside of your front leg, hold it for 2 minutes.
- As you are performing this make sure to take slow, deep breaths.
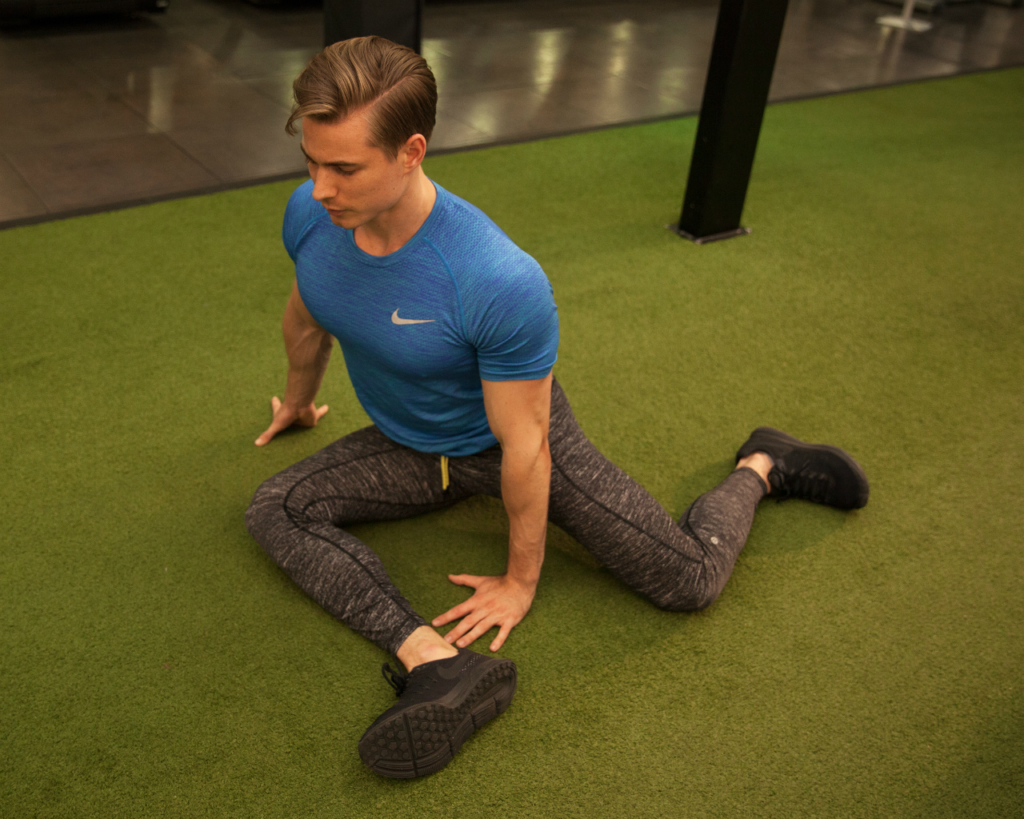
Step 2: Contract the Lengthening ‘Stuff’
- Fill your belly with air, brace your abs and take take short, shallow breaths from there. This helps to build tension throughout the body.
- Extend your arm out to the side, clenching your fist. This helps to ‘spill’ tension through the body.
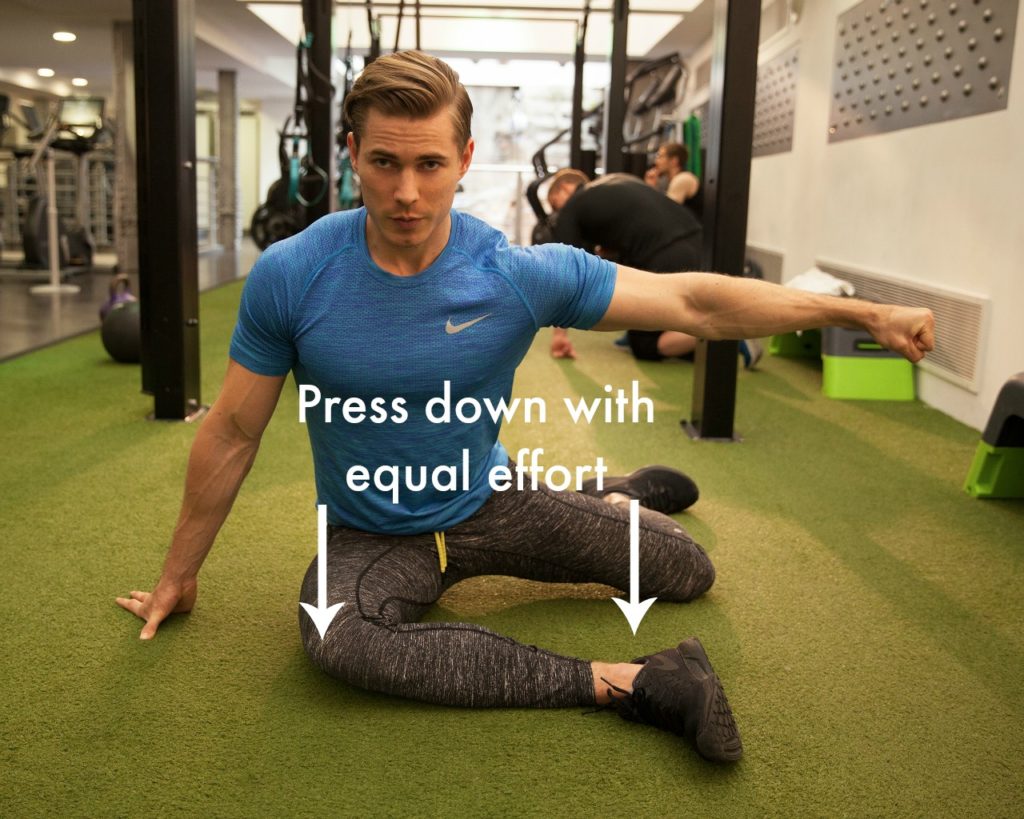
- Imagine you have a weight scale underneath your knee and your ankle.
- Push down equally into those weight scales and gradually make them heavier. Slowly build tension until you get to 60% of your maximum effort.
- Hold the contraction for a further 10 seconds.
- DO NOT COME OUT OF POSITION.
Step 3: Contract the Shortening ‘Stuff’
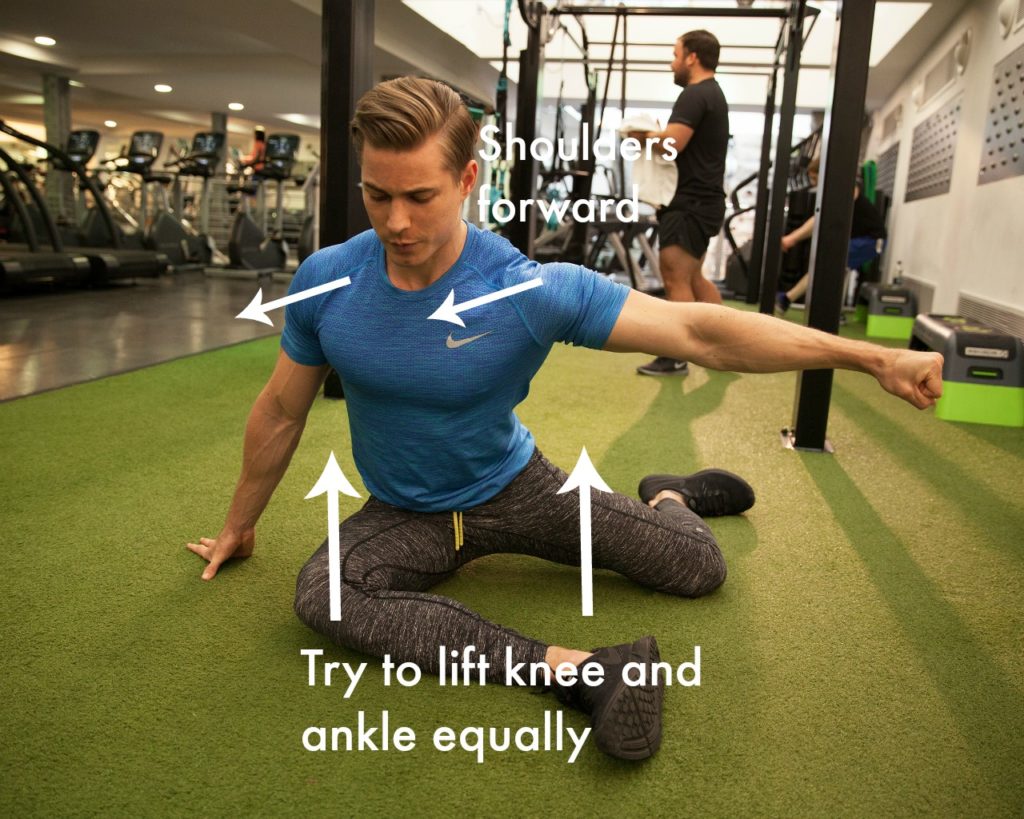
- Gradually reduce tension in the lengthened tissue. Think about making those weight scales lighter until you get to 0.
- When you are no longer pressing any force down into the ground, try to pull yourself into a deeper stretch.
- Think about trying to lift your knee and ankle equally.
- At the same time, make your best effort to hover your belly button further forward along with your shoulders.
Step 4: Hold the New Position
- Relax the contraction, making sure to not come out of position.
- Passively stretch for 2 minutes in the new position.
Part 2: Back Leg Focus
Step 1: Find the Stretch
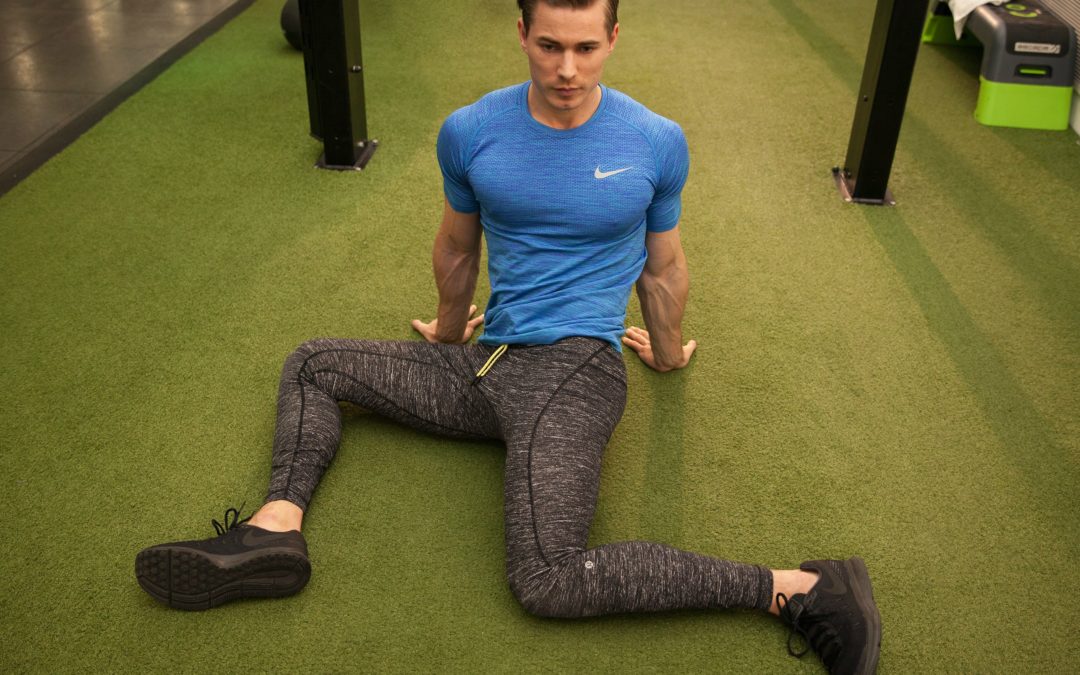
- Square your shoulders to the back leg, support yourself with your hands behind your body.
- Try to relax your muscles and you should feel a weird, deep stretching sensation. Yep, weird, I know but it’s not supposed to be comfortable!
- Hold the stretch for 2 minutes.
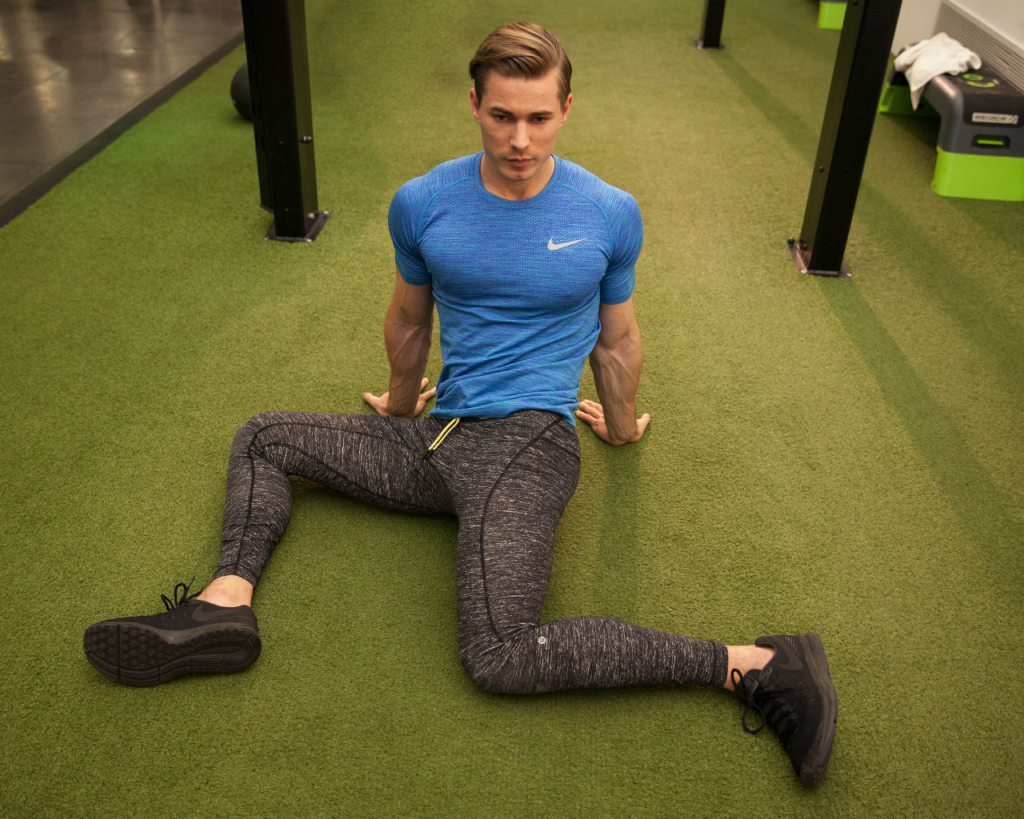
Step 2: Contract the Lengthening ‘Stuff’
- Fill your belly with air, brace your abs and take short, shallow breaths from there. This helps to build tension throughout the body.
- Press into the ground equally with your knee and ankle.
- Gradually increase tension until you get to 60% of your greatest effort.
- Hold the contraction for a further 10 seconds.
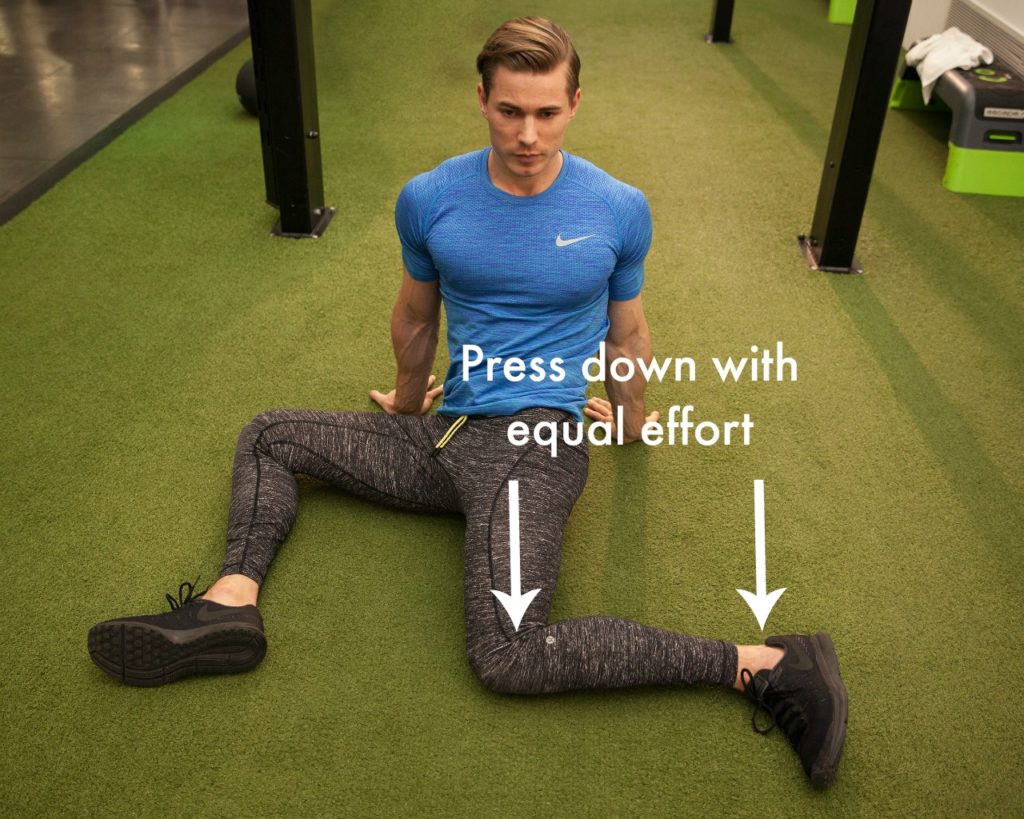
Step 3: Contract the Shortening ‘Stuff’
- Gradually reduce tension in the lengthened tissue. Think about making those weight scales lighter until you get to 0.
- When you are no longer pressing any force down into the ground, try to pull yourself into a deeper stretch.
- Think about trying to lift your knee and ankle equally.
- At the same time, try to rotate your shoulders and torso further.
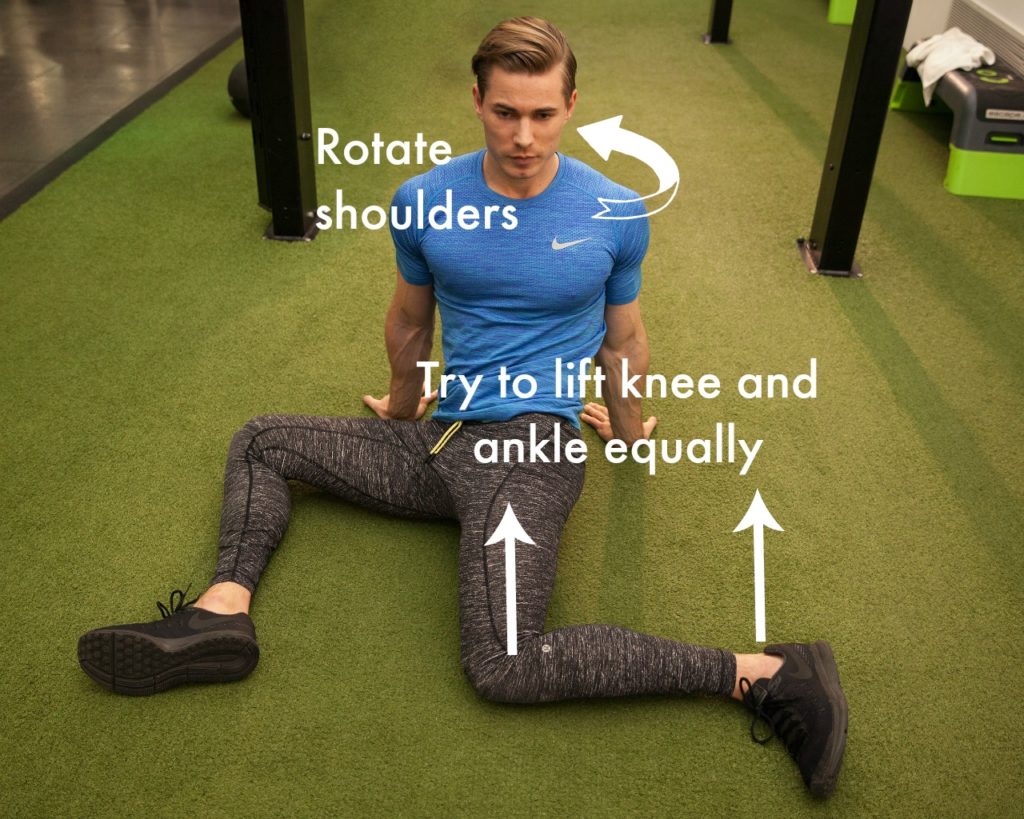
Step 4: Hold the New Position
- Relax the contraction, making sure to not come out of position.
- Passively stretch for 2 minutes in the new position.
Wrapping Up
You can perform this exercise upon waking, as part of a warm up or any time throughout your day. As with everything, consistency is key to making change. Try to perform this exercise a minimum of 3 times per week and you will have a healthier, more freely moveable hip in no time!
Did you like this post? Follow me on Instagram for daily workout inspiration and tips and join my weekly Wednesday Wisdom newsletter where I dive deep into the latest topics to help you train smarter and live better. Need something to tie you over while stuck at home? Download my FREE guide Band Training for Lifters here (includes info on what bands I use and a discount code to purchase them online).

I’ve used the 90/90 stretch but I couldn’t see any significant changes in my mobility. Hopefully this can take me to the next level. Please upload a tutorial video about this if you can. Thank you so much
It sure will. Passive stretches are only effective if you get stronger at end range. Adding the isometric training will open up more hip mobility in no time!
Amazing man, I’m having a little bit of a hard time following it. A full video tutorial would greatly enhance it. Cheers man, can’t wait to see more of your posts
You got it! Will do that
Hi Jack with the back leg stretch this is hurting in the back leg knee, is there a pre requisite should work on for this? Great stuff by the way !
I cannot stand up tall and touch my toes, I’ve researched it and I think I have poor hip mobility…… hopefully this will help.
Could you comment on this vs. pigeon stretch? I have severely limited range of motion in my hips, 33 years old and just never had it. I have been doing a progression for pigeon stretch using a chair but seem to be at the same starting and ending flexibility every single day, I can’t progress.
How would this be different? Just looking to be educated on this…
Thanks for details of 90/90 hip stretch. I don’t have the full ROM. Now These two exercises had ebbn I’m my daily routine exercises, at initial dynamic and at last static.
Excellent guide, easy to follow and great pics for reference. This exercise is just what I need for my hips right now and will incorporate to my routine