(and how to modify your favourite gym exercises with resistance bands only)
Resistance bands are nothing new. But in 2020, they went from the most undervalued tool to the hottest commodity for at-home strength training. As gym closures swept the globe, fitness enthusiasts turned to the web to purchase the equipment they needed to train at home for what was an undetermined amount of time. Naturally, resistance bands were a popular choice being cheap, lightweight and highly versatile.
But, just because resistance bands became wildly popular, does not mean they are being used effectively. There are still a handful of unanswered questions that leave people confused and unable to tap into the enormous potential of resistance band training:
What resistance bands are best for strength training?
What exercises can I use resistance bands for (way more than you think!)?
How do I plan my resistance band workouts to maximize gains?
That’s what I’m going to answer for you today because YES you can build muscle, YES you can build strength, YES you can get in great shape with nothing but resistance bands. BUT ONLY if you know what you’re doing.
What Resistance Bands Are Best for Strength Training?
I would hedge a bet that most people have bought the wrong bands for the job. It’s no surprise. Bands range in thickness, length, material and stretch tolerance. To make matters more confusing, there is no standardised color scheme or naming convention.
I’ll make this easy. The BEST bands for strength training are the good old fashioned 41” loop bands that go by the name ‘strength bands’, ‘super bands’ or ‘monster bands’ (see why it’s confusing, they are all the same thing).
Traditionally, these bands were developed for powerlifters and athletes alike to build explosive strength. They are added to loaded barbells for exercises like squats, deadlifts and bench presses to provide what’s known as ‘accommodating resistance’. As the bands stretch, they provide more resistance, which more closely matches the natural human strength curve. The athlete is therefore forced to apply aggressive force to overcome this resistance and achieve lock out. It’s a highly effective method for building explosive strength in the gym. But the same bands can be used in other ways and they are your best choice for resistance training at home.
Why? Because they are very robust and can generate a lot of force when stretched, ranging anywhere from 10lb of tension up to a whopping 200lb!
The most versatile bands fall somewhere in the lower-middle end of the resistance spectrum. But the bigger the range you have, the better. It will enable you to progress to greater resistance as you gain strength, much like adding plates to a barbell or going up the dumbbell rack. It also affords you more exercise options. Bigger muscles like your legs and back require thicker, stronger bands and smaller muscles like your chest, triceps and shoulders require thinner, lighter bands. Matching the resistance of the bands to the strength of your muscles is essential to getting an effective training stimulus that will transfer to results!
What exercises can I use resistance bands for?
View this post on Instagram
When the U.K lockdown kicked off in March, I immediately set out to discover the answer to this question. I started by writing a huge list of dumbbell, barbell and cable machine exercises that I normally do, all categorized by movement pattern (explained below) and individual muscle isolations.
I then experimented with the bands to discover which exercises could be replicated. To my surprise, they worked well for a HUGE range. More than enough to build well balanced and varied programs for a very long time.
Here’s a breakdown of the exercise categories with a few examples of each. This is how you should think about building your own exercise library:
Squat Pattern (Lower Body)
Think of the squat pattern as movements in which the hips descend down and back up, primarily targeting muscles of the thigh (quads, glutes and hamstrings), core and low back. For simplicity, both bilateral and unilateral exercises can be included here.
Example Exercise Swaps:
Barbell Back Squat >> Resistance Band Back Squat
Dumbbell Split Squat >> Resistance Band Split Squat
Hinge Pattern (Lower Body)
Think of the hinge pattern as movements in which the hips move back and tilt forward, primarily targeting the posterior chain (glutes, hamstrings and low back).
Example Exercise Swaps:
Dumbbell RDL >> Resistance Band RDL
Barbell Good Morning >> Resistance Band Good Morning
Push Pattern (Upper Body)
Think of the push pattern as movements in which the arms ‘push’ resistance away from the body, generally in front of the chest or overhead. This pattern targets muscles like the pecs, shoulders and triceps.
Example Exercise Swaps:
Cable Chest Press >> Resistance Band Single Arm Chest Press
Dumbbell Shoulder Press >> Resistance Band Tall Kneeling Shoulder Press
Dumbbell / Barbell Press >> Band Resisted Push Ups
Pull Pattern (Upper Body)
Think of pull pattern movements in which the arms ‘pull’ resistance toward the body, generally from in front of the chest or overhead. The pull pattern targets the back and biceps primarily.
Example Exercise Swaps:
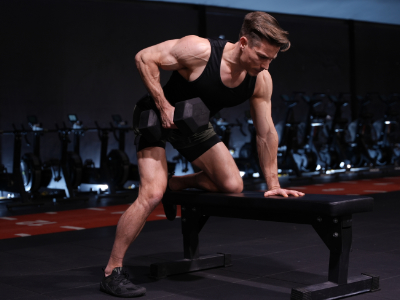
Barbell Bent Over Rows >> Resistance Band Bent Over Rows
Dumbbell Rows >> Resistance Band Seated Rows
Pull ups / Cable Pull Downs >> Resistance Band Pulldowns
Individual muscle isolations are more self explanatory. Exercises that primarily target one muscle group, for example:
Glutes
Dumbbell Glute Bridge >> Resistance Band Glute Bridge
Biceps
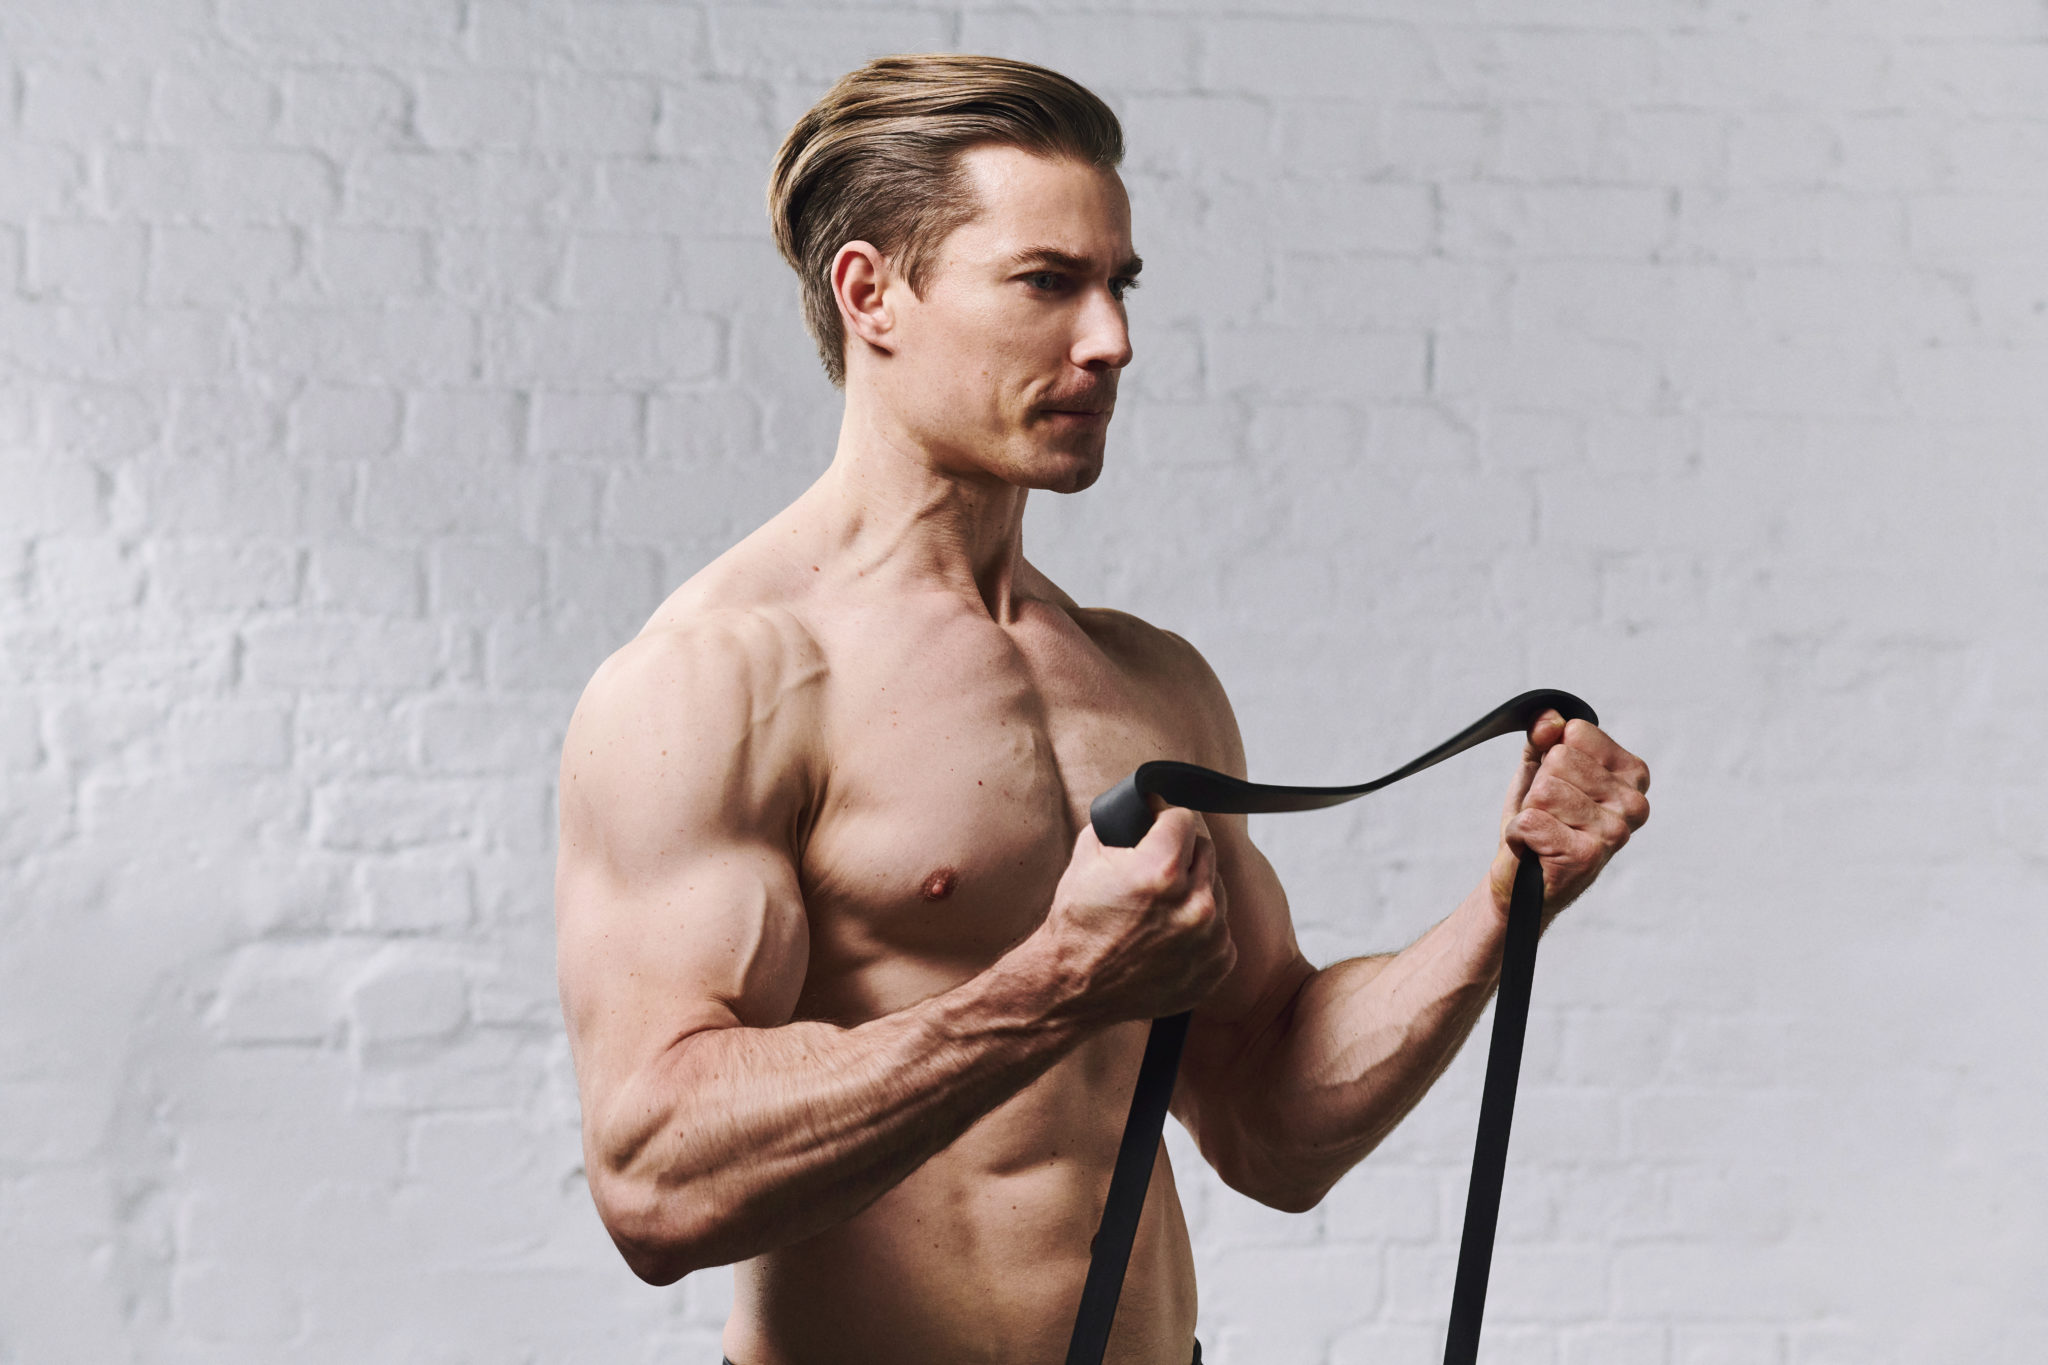
Dumbbell Curls >> Resistance Band Curls
Triceps
Dumbbell Tricep Extensions >> Resistance Band Tricep Extensions
Shoulders
Cable Reverse Fly >> Resistance Band Reverse Fly
Dumbbell Lateral Raises >> Resistance Band Lateral Raises
How do I plan my resistance band training to maximize gains?
Once you’ve built a library of resistance band exercises, organized by movement pattern and muscle isolations, the next step is to plan your workouts. There are infinite ways to do this, so here are some tips to guide you:
Frequency.
If you plan to strength train 1-3 times per week, full body workouts are the best way to go. It ensures that you hit each muscle group with enough volume to get a training effect (sorry for the reality check, but hitting your legs just once per week won’t cut it!).
If you plan to strength train 4+ times per week, an upper / lower split would serve you better, as it prevents any overlap of muscles trained and ensures adequate recovery.
Exercise Selection.
Keep your workouts balanced by having an even blend of exercises across the movement patterns. Those movements should be prioritized as they are compound lifts that give you the most bang for your buck. Muscle isolations can then be tacked on, depending on your preference. Another way to think about this – movement patterns are your entree, the isolations are your dessert!
Exercise Order.
You can structure a workout to progress through exercises in one of three primary ways. Sequentially: complete all working sets of your first exercise, then your second exercise etc until completion. Pairs: Go back and forth between two exercises at a time such as a push and pull movement (antagonists) or upper and lower body movements. Circuit: Perform one set of each, then cycle through for the total number of sets you’ve prescribed.
Sets, Reps & Rest.
Sets: To get adequate muscle stimulus, perform 3-5 working sets per exercise.
Reps: Resistance bands cannot be loaded in the same way as traditional weights. Most of the resistance occurs when they are stretched close to end capacity and they cannot provide a steady resistance through a full range of motion. Because of this, higher reps work best, accumulating lots of time under tension. Anywhere from 10-20+ reps, depending on the bands you have and the muscle being targeted.
Rest: Short rests are best. Muscles are not placed under high mechanical loads with resistance band training, so you don’t need much time to recover. Somewhere between 30-90 seconds is ideal, depending on the size of the muscle group being worked.
Load / Intensity.
Prescribing JUST reps to guide your working sets can be a somewhat futile effort with resistance band training. Because you cannot precisely select the load to match the number of reps (like you can with dumbbells and barbells), it’s better to guide your working sets by another measure of intensity – RPE – which stands for rate of perceived exertion. An 8 RPE for example would mean “just keep going until you have roughly 2 reps in the tank”. This will ensure that you work the muscles with enough intensity to stimulate muscle and strength gains.
Progressing Week to Week.
You can progress your workouts in a number of ways, such as: increase reps, decrease rest, add a set, use a thicker band. You do not need to apply all these methods in one go. Pick one or two progressive overload methods and do them consistently. This is key to your strength, muscle building and body composition goals.
Changing Programs / Switching Exercises.
Stick to your workouts for 3-4 weeks, applying progressive overload methods before changing things up. This consistency is key to your results. Each week you MUST be doing slightly harder workouts than the previous week for your body to adapt favourably. Then you can select a new set of exercises to load your muscles in a slightly different way, rinse and repeat, adhering to the same training principles.
Wrapping Up
Done right – resistance band training will kick your ass. All it takes is the right attitude, a good work ethic and a smart program, guided by solid training principles. You’re now armed with the knowledge. All you have to do is apply it and start making gains. Training at home doesn’t have to suck after all!
For a step-by-step guide to making gains with resistance bands, join Jack’s band-only Adapt training program, available on the PRGRM app. Need bands? Get the Limited Edition full set of 5 here from PRGRM.


Best brands of bands?
Hi Fede, I have a limited edition set of bands available here
Fantastic article as always Jack
Recently converted to resistance bands and love them